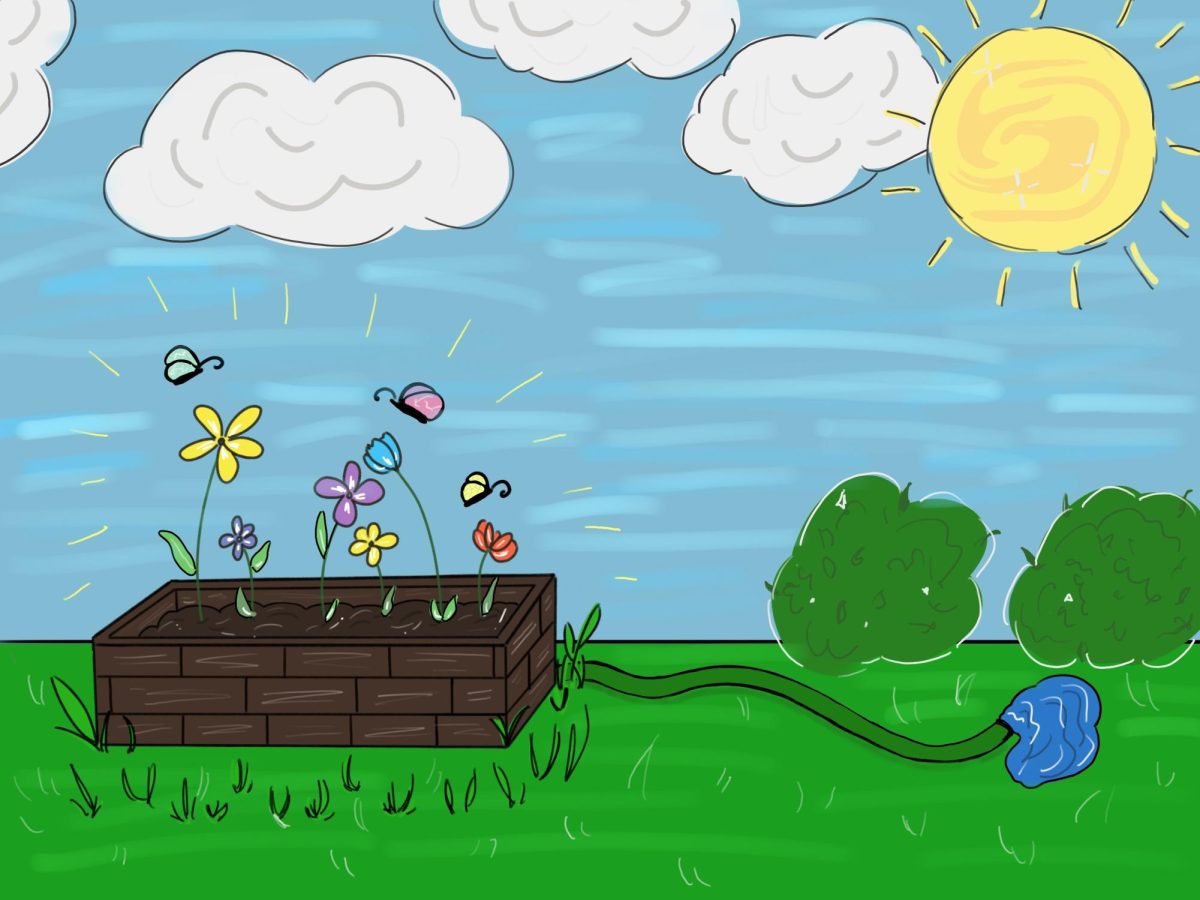
1. Establish the Layout
Make sure you know what shape of garden bed you want and where you want to put it to ensure you’re maximizing spatial availability before making any big decisions. For example, a rectangular bed along the side of your house, a circular bed in the front yard, etc.
Draw it out! Give yourself a visual of how you want it to look. Create multiple angles showing the depth and length. Don’t be afraid to grab some sticks and use them as a blueprint to lay out the shape of the bed to get a good idea.
This part will probably take the longest, but it’ll be so worth it.
2. Start Digging
Begin by mowing/trimming the grass in the area where you want your garden to be. The less grass is showing, the easier it will be to see where the plants will go.
Grab a pair of thick gloves (unless you don’t mind getting your hands muddy) and a mini shovel if accessible. An old metal spoon will do. Use the shovel to scrape at the dirt and fluff it up, removing small stones, roots and patches of grass.
Once you’ve completed shallowly digging out the bed you want, it’s time to plant!
3. Plant
Grab a watering can and moisten the soil where you created the bed. Grab your shovel and create small divots in the soil. These are where your seeds are going to go. Take your pack of seeds, bulbs, sprouts or anything you want to plant.
Take out the recommended amount of seeds per hole, as mentioned on the packet of seeds. If no information is given, Google will do just fine. Cover the seeds with more soil and lightly pack it down. Water once again with your watering can.


